
The ACP Server is provided in a bootable ISO image created using Clonezilla https://partclone.org/. You need to prepare your own server and initialize it using this image. To do this
- Provision a new server
- OS: Ubuntu 64-bit
- Prepare a new partition for the new server.
- The size should be ‘server’ size, say 100GB
- The absolute minimum size for image is 16GB
- The provisioning server must have Virtualization Support, otherwise the ACP Image will not work
- Boot the server using this ISO. The Image is available here.
- The ISO subsystem will go through several steps to verify the image. Sample images shown below:

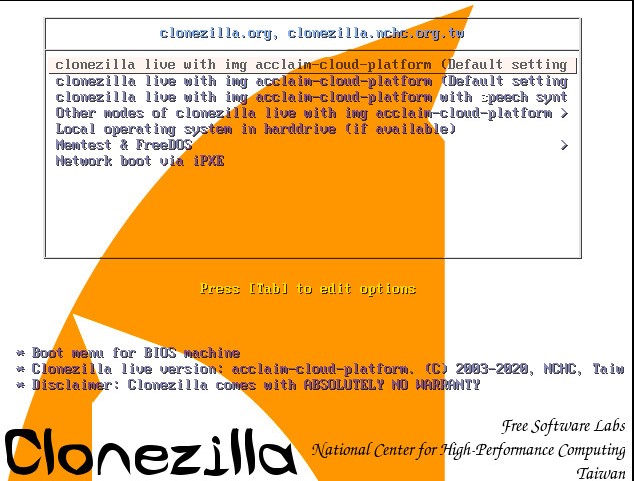
- Make sure BIOS is set to read the ISO image and boot from it. Choose default or just enter.
- Other screens

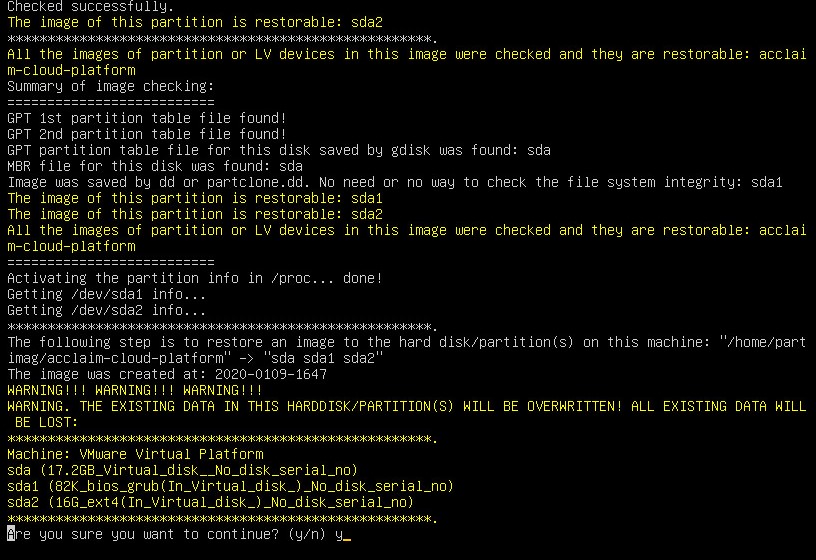
- At the end, it will detect your prepared partition. Agree to overwrite it (two confirmations required)
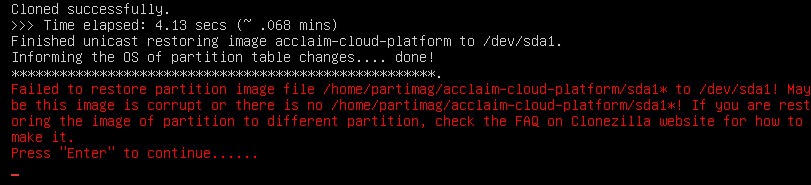
- You will get this harmless error. Please happily ignore it; just press <Enter> to continue. (BTW: The error is generated because the ISO image was made from a 200GB disk on our release server, and shrank down to 16GB. Because the ACP Server image is only 11GB, there is no issue)
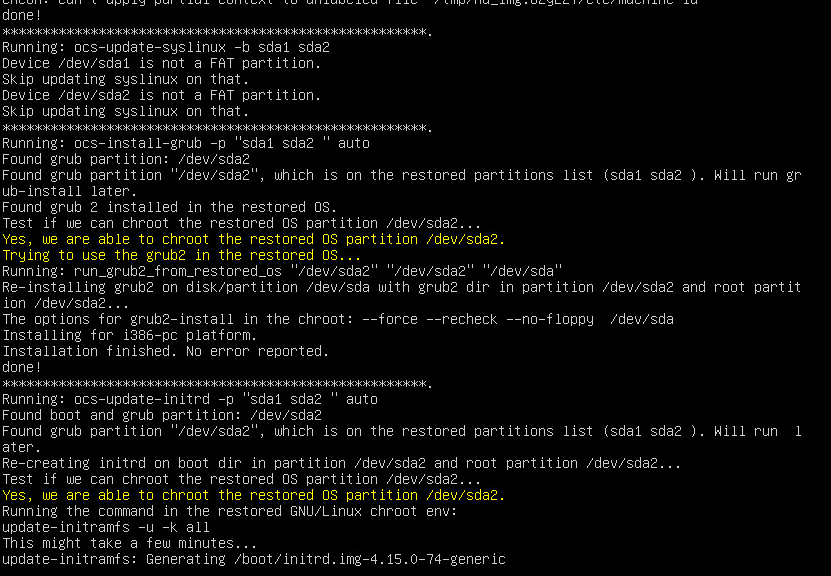
- Continue until the end without any errors:
- Choose Power Off:
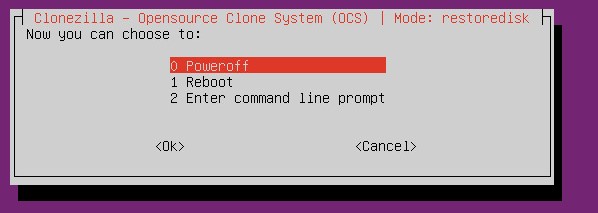
- Remove the ISO disk and reboot the machine.
- Login to the image using an ssh client like putty
- DNS name: vulpe (after Vulpeculae, the red supergiant – https://en.wikipedia.org/wiki/NR_Vulpeculae)
- Login: acclaim
- Password: changeme
- **Change this password to suit your organizations password requirements**
- The ACP Server is configured with DHCP – it should automatically get an IP from your network:
- Network config should look as follows:

- Assign it an IP address in your network. Servers typically have a fixed IP address.
- Verify server has virtualization support
- % grep –color vmx /proc/cpuinfo
- Result should be similar to: (note that there must exist the vmx string). Don’t proceed any further until this step is successful.flags : fpu vme de pse tsc msr pae mce cx8 apic sep mtrr pge mca cmov pat pse36 clflush dts mmx fxsr sse sse2 ss syscall nx rdtscp lm constant_tsc arch_perfmon pebs bts nopl xtopology tsc_reliable nonstop_tsc cpuid aperfmperf pni pclmulqdq vmx ssse3 cx16 sse4_1 sse4_2 x2apic popcnt aes hypervisor lahf_lm pti tpr_shadow vnmi ept vpid dtherm ida arat
- Also configure DNS name of the server so it is accessible within your network using DNS name, in addition to via IP (recommended)
- Change server name
- At this point we are done with this step.
- Proceed to next step