
The ACP Server comes with a fully functional Sandbox, minus the ACP Plugin. Therefore, login and add the ACP Plugin from the official WordPress site:
- Login to WordPress Admin page image (by IP or a mapped DNS name)
- URL: http://acp.acclaimconsulting.com/wp-admin/
- Login: acclaim
- Password: changeme


- The Landing Page is defaulted to the Acclaim Cloud Platform Dashboard. Click on WordPress Dashboard:

Now get the ACP Plugin and, once is it activated, go to Settings –> ACP Settings and configure its settings: (The following Settings assume that the DNS name of the image is vulpe)
- The Settings are:
- Acclaim Home: /opt/acclaim (this is the plugin home directory and is pre-filled)
- Value on ACP Image: /opt/acclaim – cannot be changed
- VPN DNS: External DNS or IP of VPN server. The ACP Image comes with VPN server on port 1194. You may use a tool like sslh to map standard SSL port 443 to this port internally.
Important note: For security reasons, regenerate your openvpn CA using the instructions at: https://help.ubuntu.com/lts/serverguide/openvpn.html
- Acclaim Home: /opt/acclaim (this is the plugin home directory and is pre-filled)
- Guest Network: Network from which to assign Guest IPs. Must be Class C. Try to stay away from 192.168.1.0 & 10.8.0.0 networks. The first is common for home routers, and 10.8.0.0 is used by our VPN server.
- Value on ACP Image: 192.168.8.0
- VPN Port: Port of VPN Server
- Value on ACP Image: 443
- Web Host: Internal IP/Host of Web server where WordPress is running
- Value on ACP Image: vulpe
- Web Account: Service account on Web Host. Should have Sudo privileges
- Value on ACP Image: acclaim
- Web Account Password: Password of Web Account
- Value on ACP Image: changeme
- Virtualization Host: This is the Internal IP/host of your virtualization host. You build it using the ACP image provided.
- Value on ACP Image: vulpe
- Virtualization Account: Service account on Virtualization Server with sudo privileges
- Value on ACP Image: acclaim
- Virtualization Account Password: Password of Virtualization Account
- Value on ACP Image: changeme
- Primary DB Host: This is the WordPress DB Host – Primary
- Value on ACP Image: vulpe
- Secondary DB Host: This is the WordPress DB Host – Secondary for clustered environments.
- Value on ACP Image: vulpe (ACP Image DB is not clustered)
- Tertiary DB Host: This is the WordPress DB Host – Tertiary for clustered environments.
- Value on ACP Image: vulpe (ACP Image DB is not clustered)
- Primary DB Account: Service Account (unix server user login) for DB Host
- Value on ACP Image: acclaim
- Must have sudo privileges
- Primary DB Account Password: Password for Primary DB account
- Value on ACP Image: changeme
- Primary DB Host Slug: This is the server ID for Primary DB Host (only applies if you are using guest on ACP Image
- Value on ACP Image: none
- ACP Image uses Mariadb that runs on the image itself, not as a guest on the ACP virtualization platform
- Secondary DB Host Slug: This is the server ID for DB Host (only applies if you are using guest on ACP Image
- Value on ACP Image: none
- Mysql Admin: mariadb/mysql admin user. This is the db user with grant privileges on WordPress DBs
- Value on ACP Image: acclaim
- Mysql Admin Password: Password for Mysql Admin
- Value on ACP Image: changeme
- Signup Shortcode ID: This is the Caldera Form ID of Sign Up form
- Value on ACP Image: CF5e0faedcd9f59
- Get it under Caldera forms à Sign Up form à Get Shortcode
- Update Server Shortcode ID: This is the Caldera Form ID of Update Server form
- Value on ACP Image: CF5e0f46af829b6
- Get it under Caldera Forms à Update Server form à Get Shortcode
- User Profile Table: ACP Plugin Table for User Profiles. Used to maintain profiles of your registered users.
- Value on ACP Image: acp.wp_acp_userprofile
- Cannot be changed
- The database part (‘acp.’ is automatically read from your existing WordPress DB)
- Servers Table: ACP Plugin Table for Servers. Used to maintain list of servers that each user creates.
- Value on ACP Image: acp.wp_acp_servers
- Cannot be changed
- The database part (‘acp.’ is automatically read from your existing WordPress DB)
- Save Settings
The ACP Plugin is now deployed and talking to a local WordPress installation. Next step is to configure SMTP email:
- Acclaim Cloud Platform requires SMTP email for user registration proofing. Configure SMTP Email for WordPress. The ACP server comes configured with WP Mail SMTP Plugin, but the configuration is not complete. You must complete it by choosing your mailer and other configurations, or add your favorite SMTP plugin.
- Either way make sure the SMTP works by sending a test email before proceeding. Users will not be able to register without this.

- Don’t proceed until the SMTP config works and you are able to send and receive mail through it. Most plugins have a ‘Test Email’ feature. Make sure this works. Example below is from the WP Mail SMTP Plugin:

- Now access the Sandbox Site.
- URL: http://acp.acclaimconsulting.com/
- The DNS should map to sandbox IP.
- You may also use the IP
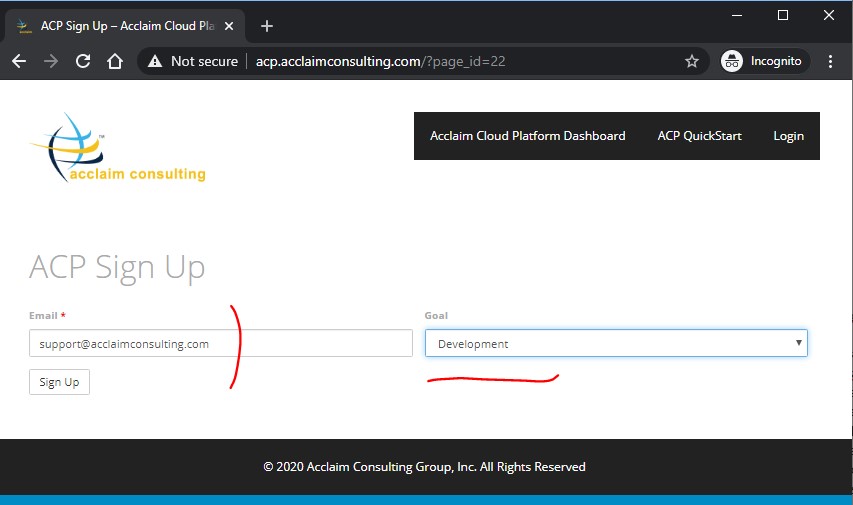
- You should get the following Login Screen

- Click on Sign Up link at the bottom and enter a valid email and select a goal from the drop down, and submit the form:
- You will get a confirmation message:
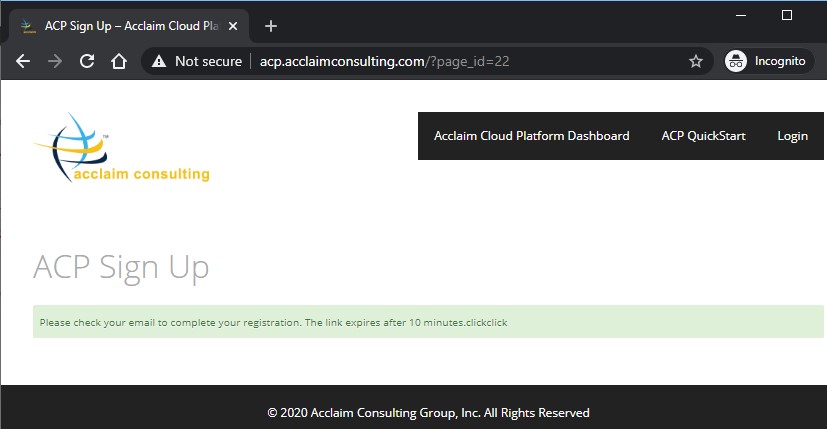
- If email is configured correctly, you will get an email with confirmation link:

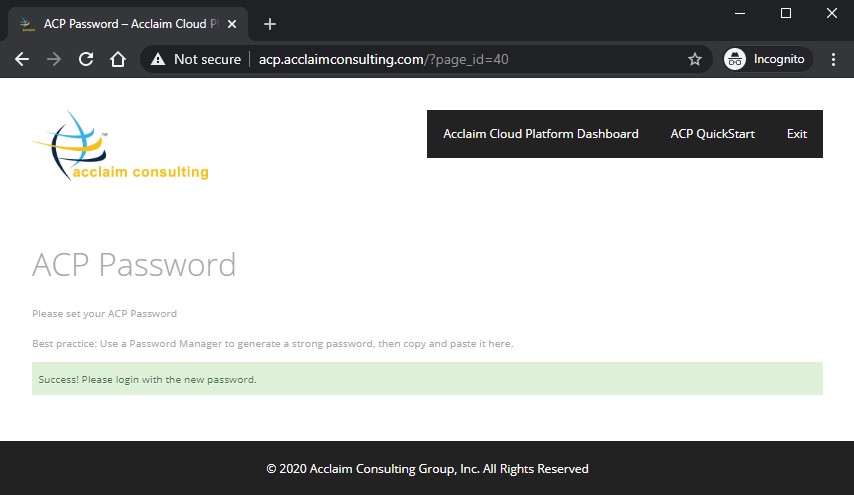
- Click on the confirmation link or copy and paste it into the browser window. The result should be as follows:

- It is recommended that you generate a strong password using a password manager, then copy and paste it on the previous screen, then submit it. The results should be as follows:
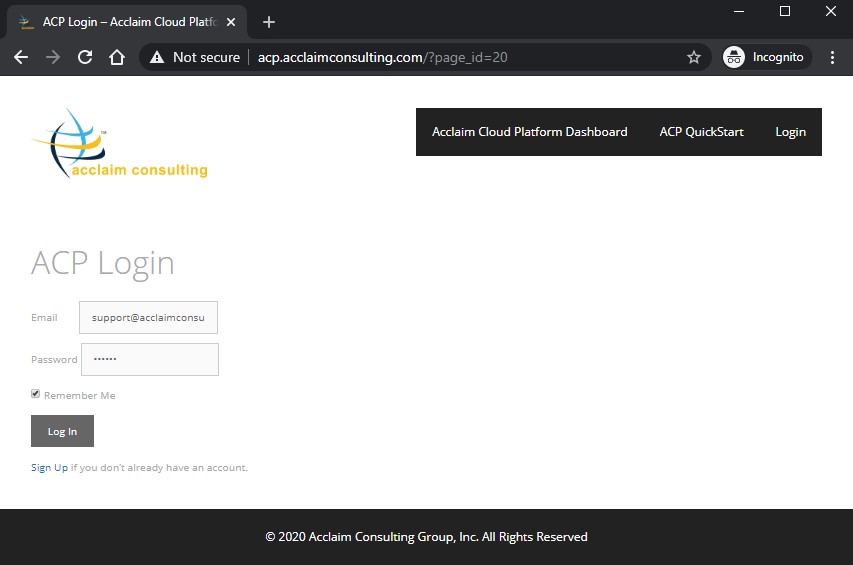
- Click the ‘Acclaim Cloud Dashboard’ link and login with the new password
- If everything has worked so far, you will get a blank ACP Dashboard as follows
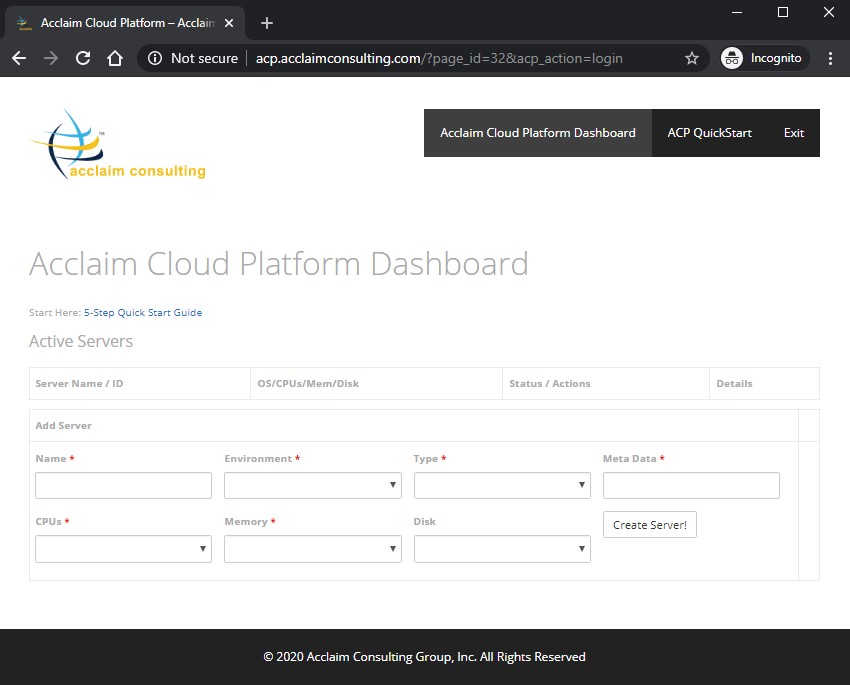
- Now create a virtual instance:

- Server takes a minute or so to spin up. You may track its progress by logging into the server shell and tailing the log file /opt/acclaim/log/server.log

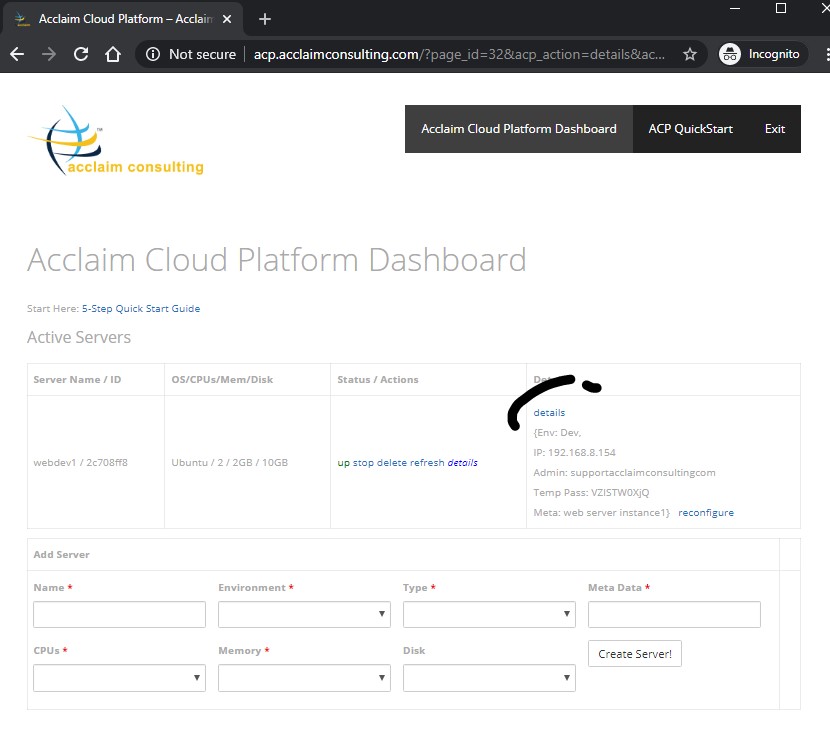
- Click the ACP Dashboard link on the browser. The server instance should show up as created and started:

- Access the ‘Details’ Link of the server instance. It contains instance meta data like IP and admin login:
- Make sure the following tests succeed:
- You can ping the server instance at its IP
- You can log into the server instance using the provide admin username and Temporary password
- You can stop the server via the ‘stop’ link
- You can start the server via the ‘start’ link
- Once all these tests are completed successfully, we are ready for Integration Step. If any of the tests fails, please perform some troubleshooting. If things are not working after your own troubleshooting, send us an email